Making your own telescope mirror is the oldest thread in amateur astronomy. For most of the twentieth century it was simply how amateurs got a telescope at all, and the technique that was worked out then — two discs of glass, a sequence of abrasives, a pitch lap and a great deal of patience — has changed remarkably little since. It is slow, it is physical, and it produces an optical surface accurate to a small fraction of the wavelength of light using tools that cost almost nothing.
This page is a from-scratch account of the process for a first mirror. It is a description of standard technique, written to give you an accurate picture of what is involved and in what order; it is not a substitute for one of the several excellent full-length books on the subject, and anyone serious should have one on the bench. Expect a first 150 mm mirror to take somewhere between forty and eighty hours spread over several weeks.
What you are trying to make
The primary mirror of a Newtonian reflector is a concave dish that brings parallel light from a star to a single point. The ideal surface for that job is a paraboloid. But a paraboloid is not what the grinding process naturally produces — random relative motion between two rubbing discs of glass produces a sphere, and it does so with remarkable reliability, because a sphere is the only surface that fits itself in every orientation.
So the process has two distinct halves. First you generate and polish a sphere, which the mechanics of grinding do most of the work for. Then you deliberately deform that sphere into a paraboloid by a controlled few hundred nanometres, a stage called figuring or parabolising.
How much that second stage matters depends on the focal ratio. The difference between a sphere and a paraboloid grows rapidly as the mirror gets faster. As a rule of thumb, a small slow mirror — a 150 mm at f/8, say — is close enough to a paraboloid when left spherical that the difference is very hard to detect in use. A 200 mm at f/6 is emphatically not, and must be figured. A first-time maker is well advised to choose a slow focal ratio for exactly this reason: it makes every stage more forgiving.
Materials
- The mirror blank. A disc of glass, typically 150 mm or 200 mm diameter and around 25 mm thick. Ordinary plate glass works and was used for decades; low-expansion borosilicate glass is better because it changes shape less as it cools in the evening, which on a coast with large night-time temperature swings is a real advantage.
- The tool. A second disc of the same diameter, which will end up convex as the mirror becomes concave. A matching glass disc is traditional. A cheap and entirely effective alternative is a tile tool: small ceramic tiles bedded face-down in dental plaster or a plaster-and-resin mix on a suitable backing, which grinds faster than glass and costs a fraction as much.
- Abrasives. Silicon carbide in a graded sequence — commonly grits numbered 60 or 80 for rough grinding, then 120, 220, 320, 500 and 800 for fine grinding — followed by graded aluminium oxide in the finest stages, typically around 12, 9 and 5 micrometres.
- Pitch and polishing compound. Optical pitch for the lap, and cerium oxide or rouge for polishing.
- A working stand. A sturdy barrel, drum or heavy post at about waist height, that you can walk around freely. You will spend many hours at it.
Stage one: rough grinding
The aim of rough grinding, sometimes called hogging out, is to excavate the basic concave curve. The depth you need is the sagitta — the depth of the curve at the centre relative to the edge — and it follows from simple geometry: the sagitta equals the square of the mirror's radius divided by twice the radius of curvature, where the radius of curvature is twice the focal length.
For a 150 mm mirror at f/8, the focal length is 1200 mm, so the radius of curvature is 2400 mm and the mirror radius is 75 mm. The sagitta works out to about 1.17 mm. It is a startlingly small number for the amount of glass you are about to remove, and it is worth writing on a card and taping to the wall, because the single most common beginner error is grinding straight past it.
The technique is mirror on top, sometimes abbreviated MOT. Wet the tool, sprinkle coarse grit on it, place the mirror face-down on top, and work it back and forth across the tool in strokes that overhang the edge by roughly a third of the diameter. Walk slowly around the stand as you go, and rotate the mirror in your hands, so that no direction of stroke is favoured. Overhanging strokes with the mirror on top wear the mirror's centre and the tool's edge, which deepens the curve; the reverse arrangement, tool on top, shallows it.
Measure the depth frequently. A spherometer is ideal; a straight steel rule laid across the face with a feeler gauge under it is entirely adequate for this stage. Grit is consumed as it breaks down — you will hear the sound change from a coarse rasp to a quiet hiss — at which point wash everything and recharge.
Cleanliness between grits is not optional and is the second great beginner error. A single grain of coarse grit surviving into a fine grinding stage will cut a deep scratch that takes hours to remove. Wash the mirror, the tool, your hands, the stand, the floor around it, and everything else in the room between every grade. Many makers keep a separate labelled container and brush per grit and change their apron.
Stage two: fine grinding
Once the curve is at depth, the job changes: from here you are not removing shape but removing the damage left by the previous grit. Each successive finer abrasive grinds away the pit layer left by the one before, and the surface progresses from a coarse frosted grey to a fine even matt that is almost translucent.
Work through the grades in order, never skipping one. Each stage should continue until the pits from the previous grade are entirely gone, which is checked with a magnifier under a strong light or, more traditionally, by looking through the mirror at a bright filament. A grade that is stopped early does not save time; it costs several times as long in polishing later, because polishing removes material extremely slowly.
By the end of fine grinding the surface should show a uniform matt finish with no visible pits, no scratches, and — checked with a spherometer or a simple pinhole-and-screen test at the centre of curvature — a smooth curve at the intended depth. It is worth being genuinely fussy here. Polishing is not a repair stage.
Stage three: the pitch lap
Polishing uses the same tool but with a layer of optical pitch poured over its face. Pitch is the strange material that makes the whole process work: over seconds it behaves as a solid, so it holds its shape and abrades the glass; over hours it flows, so it continuously conforms to the mirror's surface. That dual behaviour is what lets a hand-made lap maintain contact with an optical surface across its whole area.
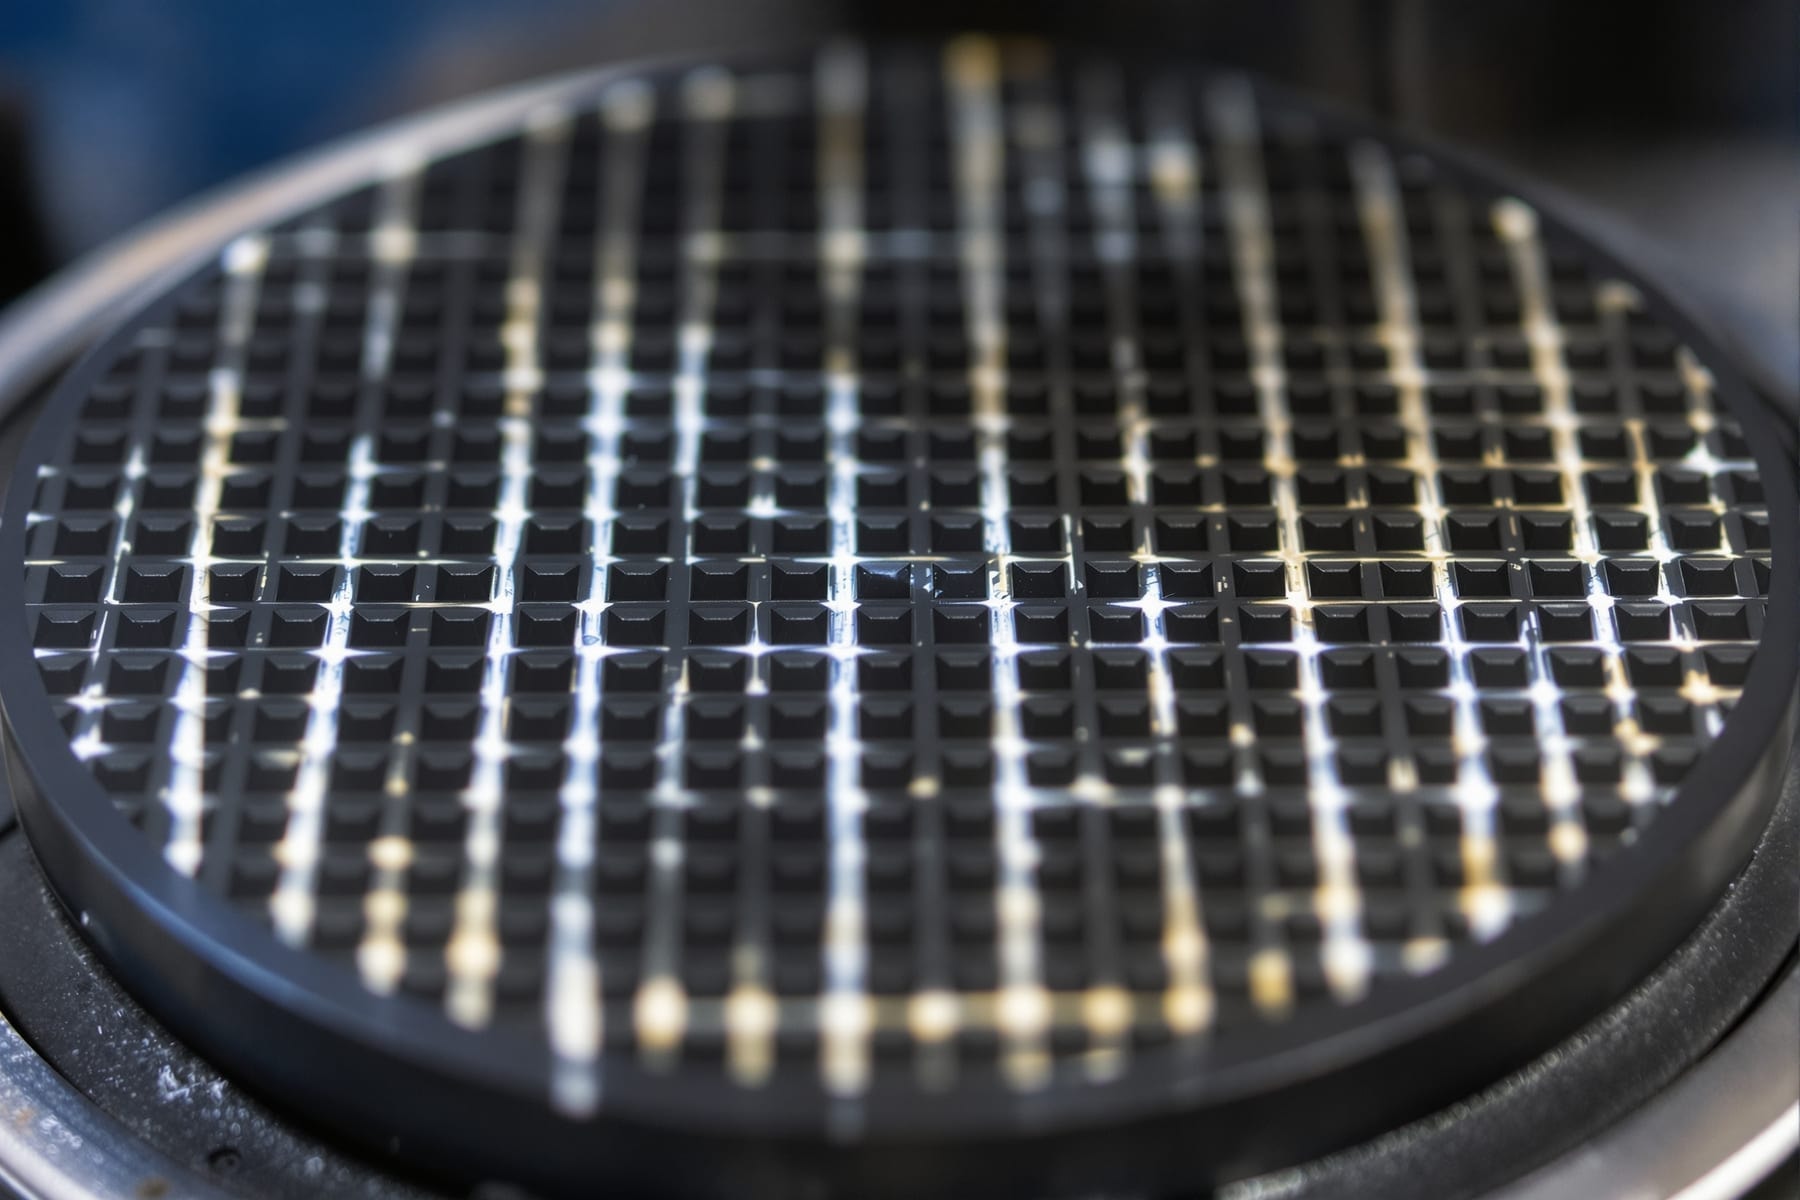
Melt the pitch gently — it scorches easily and the fumes are unpleasant, so use low heat and ventilate — and pour it onto the tool inside a temporary dam of tape. When it has set enough to handle, press it against the mirror with a slip of wet polishing compound between them until it takes the mirror's exact curve. Then cut a grid of channels into the pitch, perhaps 10 mm squares with 3 mm gaps, using a warmed blade. The channels let the compound and water circulate and let the pitch flow as it adjusts.
Before each polishing session, press the lap against the mirror for several minutes with a weight on top — cold-pressing — so that the facets are in full contact. A lap that has not been pressed polishes unevenly and will produce a turned edge or a hole in the centre.
Stage four: polishing
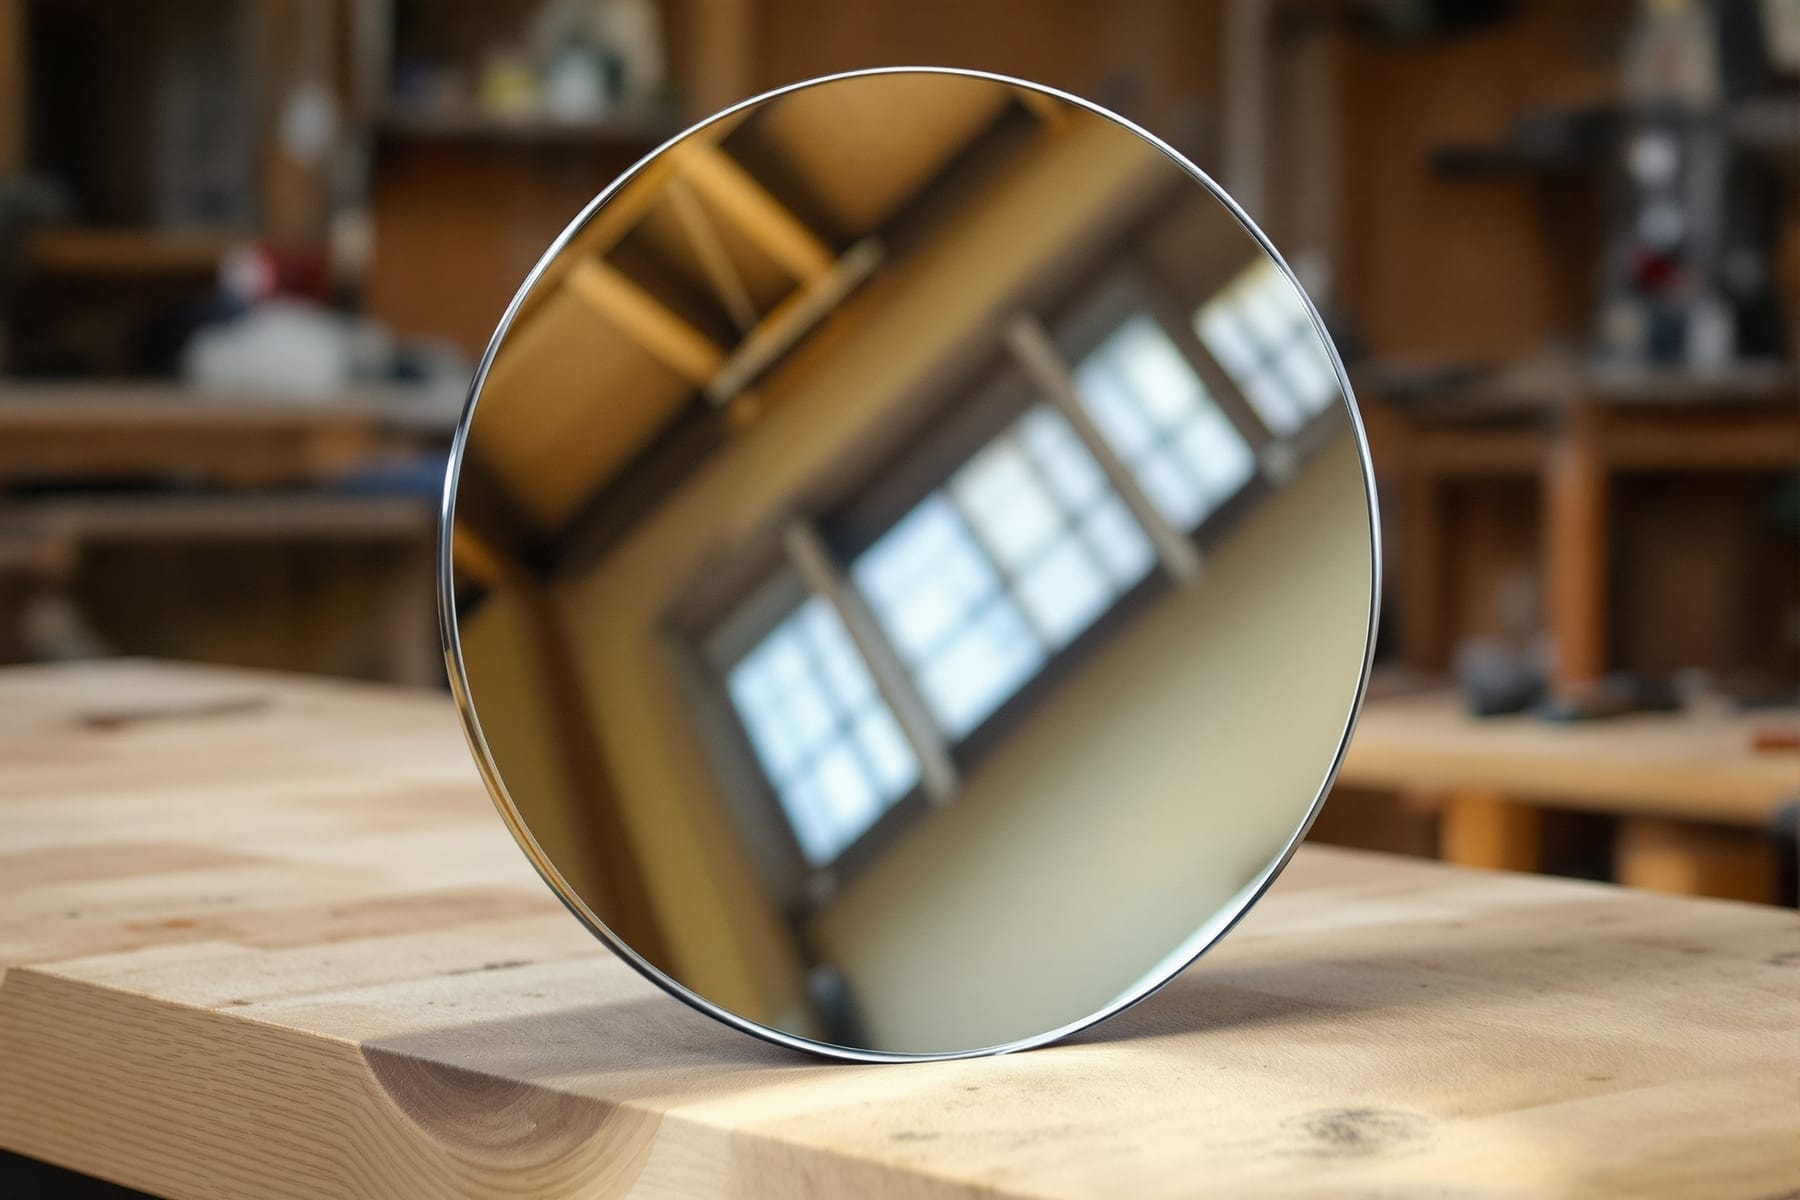
Polishing with cerium oxide slurry converts the matt ground surface to a fully transparent specular one. It is not simply finer grinding — the mechanism involves a chemically softened surface layer being smoothed rather than fractured — and it is slow. Expect several hours for a small mirror, working in sessions of perhaps forty minutes with the lap re-pressed between them.
The last part to clear is almost always the very centre or the extreme edge, and the temptation to attack it with a localised stroke should be resisted; that is how you produce a figure error you will spend far longer removing. Keep the strokes even and let the process finish.
Watch the temperature. Pitch is dramatically sensitive to it: a lap that works beautifully at eighteen degrees will be too hard at twelve and too soft at twenty-five. A cool stable workshop is worth a great deal.
Stage five: figuring
Now the mirror is polished it can, for the first time, be tested — and testing is what turns figuring from guesswork into a controlled process. The standard method is the Foucault knife-edge test, which measures the mirror's profile zone by zone at its centre of curvature and will reveal errors of a fraction of a wavelength of light. You cannot figure a mirror you cannot measure, and the tester is simple enough to build from scrap.
Figuring means converting the sphere to a paraboloid by removing a very small amount of extra glass from the middle zones relative to the edge — for a typical amateur mirror, a total departure measured in hundreds of nanometres. This is done by changing the character of the polishing stroke rather than by any new technique. Longer strokes with more overhang work the centre; shorter strokes concentrate elsewhere; a lap with its outer facets trimmed away applies its work preferentially inward. Different makers favour different approaches, and there is no single correct one.
What matters is method: make a small change, measure, and think. Ten minutes of polishing followed by a full set of test readings is a productive cycle. An hour of polishing followed by a test is a gamble. The classic failure modes are a turned-down edge, where the outermost few millimetres roll away and scatter light across the whole field, and a central hole or raised zone from over-enthusiastic local work. A turned edge is the more common and the more damaging, and it is usually caused by too much overhang, a lap that is not in contact at the rim, or working with the glass too warm.
Stop when the mirror is good enough. A surface within about a quarter of a wavelength of the ideal at the wavefront — the traditional Rayleigh criterion — produces an image indistinguishable from perfect for practical purposes. The pursuit of a further factor of two is where many first mirrors are ruined.
Coating
Polished glass reflects only about four per cent of the light falling on it, so a finished mirror must be coated. This is the one step that cannot sensibly be done at home: it requires a vacuum chamber in which aluminium is evaporated onto the surface, followed by a hard transparent overcoat, usually silicon dioxide, to protect the soft aluminium from oxidation and cleaning. Fresh aluminium with a protective overcoat reflects around 88 to 91 per cent; enhanced multilayer coatings reach the mid nineties for a higher price.
Commercial vacuum-coating shops handle amateur mirrors routinely, and are straightforward to find by searching. Send the mirror only when you are satisfied with the figure: a coated mirror can be stripped and refigured, but it is an extra cost and an extra risk. A well-cared-for coating lasts many years, and on the humid coast the main enemy is not use but condensation left to dry on the surface repeatedly.
Then build something around it
A finished mirror is not a telescope. It needs a tube or truss structure, a cell that supports it without distorting it, a diagonal correctly sized for the field you want, a spider, and a focuser placed at the right distance. That is covered on the building a plywood Newtonian page, and the wider reference material is collected under resources for telescope makers.
For the underlying optical theory in far more depth than any practical guide can give, Amateur Telescope Optics is the standard free reference. For the broader tradition and a very large body of accumulated practical advice, the amateur telescope making pages at Stellafane are the best starting point on the internet.