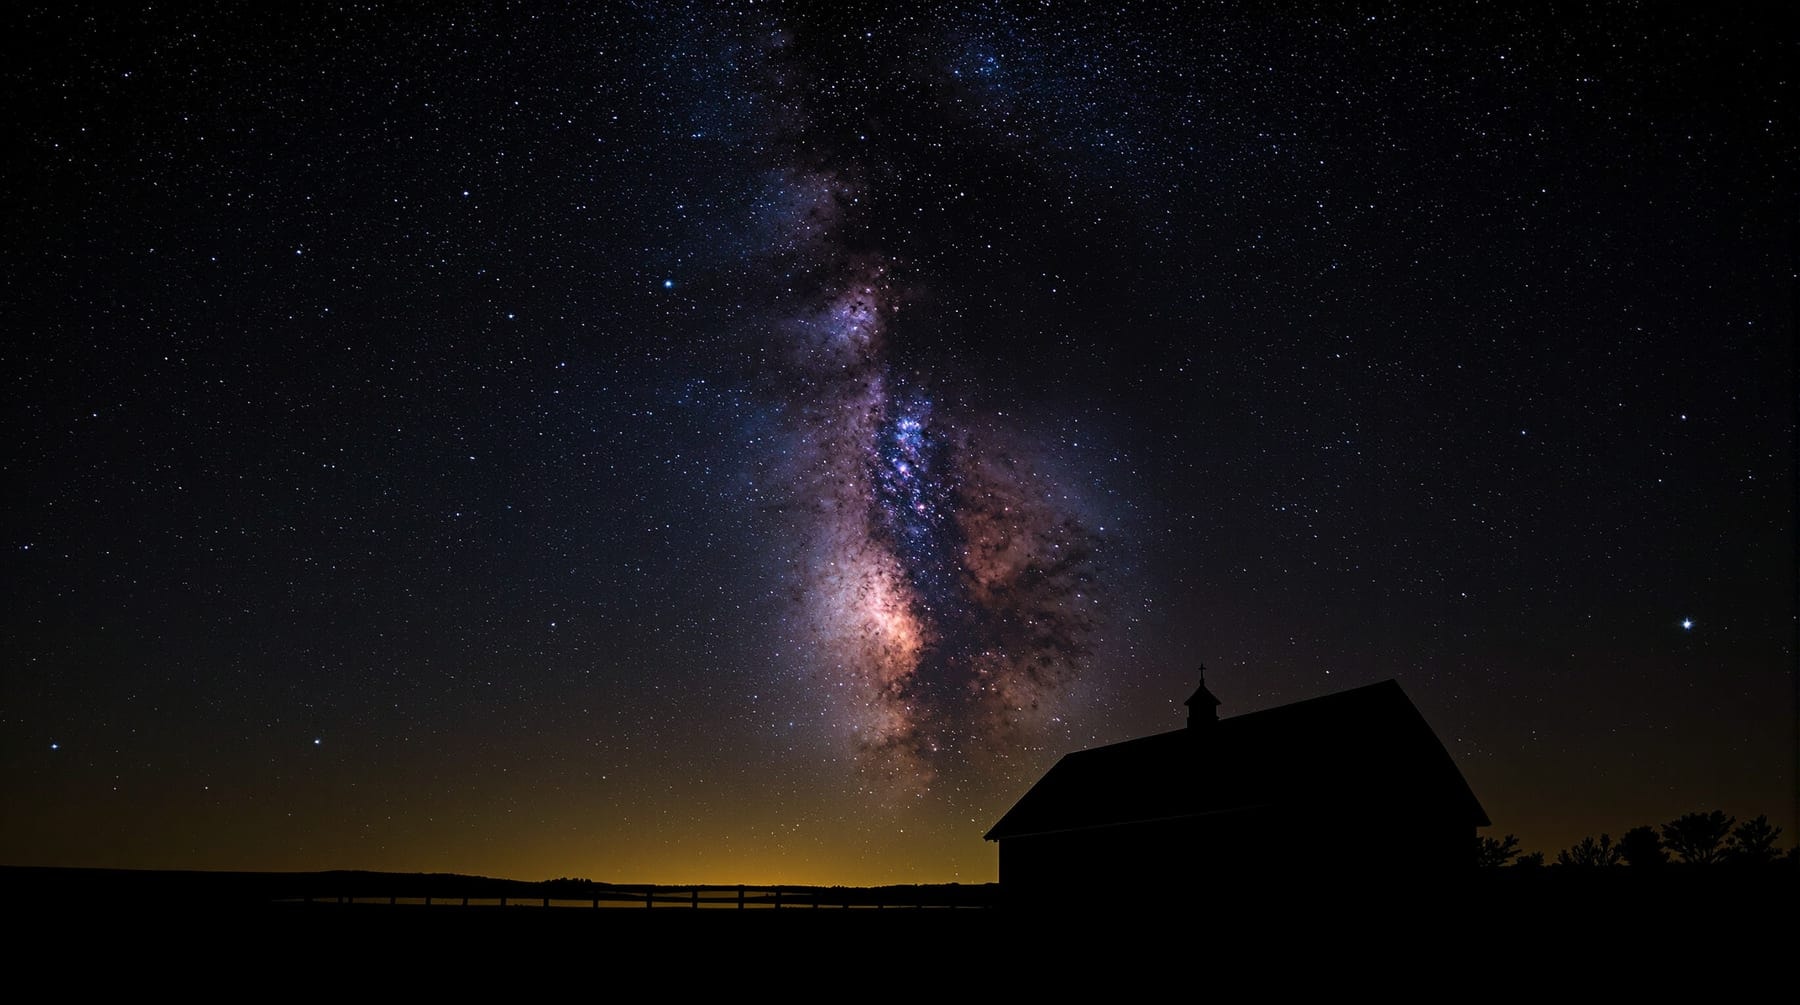
Photographing the night sky from the Fraser Valley means working against three specific local problems: a bright and low southern horizon, a great deal of atmospheric moisture, and a short window of genuinely dark hours in summer. None of them is fatal, and two of them can be turned to advantage if you plan around them rather than fighting them. This page covers the technique that works here, starting from a camera and a tripod and building up.
Start untracked: what a fixed tripod can do
You do not need a mount to start, and beginning without one teaches the fundamentals faster. A camera capable of manual exposure, a fast wide lens and a solid tripod will record the Milky Way, the brighter constellations, meteors and the aurora.
The limit on a fixed tripod is star trailing. The sky rotates fifteen arcseconds per second of time, and the question is simply how long you can expose before that rotation smears a star across more than one pixel-worth of detail. The traditional shorthand is the 500 rule: maximum exposure in seconds is roughly 500 divided by the effective focal length in millimetres. A 24 mm lens on a full-frame body gives about twenty seconds; the same lens on a crop sensor, with its 1.5x factor, gives about fourteen.
Modern high-resolution sensors are less forgiving than the film cameras the rule was devised for, so many people work to a 300 rule instead, which is simply the same calculation with a stricter tolerance. Trailing is also worst near the celestial equator and least near the pole, so a shot aimed north can tolerate noticeably longer exposures than one aimed south.
A workable starting point for a Milky Way frame from a dark valley site: widest aperture the lens has that is still sharp, typically f/2 to f/2.8; ISO between 1600 and 6400 depending on the sensor; exposure per the rule above; raw format, always; manual focus set by zooming the live view to maximum on a bright star and adjusting until it is a minimal point, then taping the focus ring so it cannot drift. Autofocus does not work on stars and infinity marks on lenses are not reliably at infinity.
The valley's southern horizon problem
The most photogenic part of the Milky Way — the galactic centre in Sagittarius, with its dust lanes and star clouds — culminates only about twelve degrees above the southern horizon from 49 degrees north. From the valley floor that means shooting through several times the atmosphere you would look through overhead, and directly into the combined skyglow of the border communities to the south. Frames of the core taken from here have a characteristic look: a bright orange-brown gradient rising from the bottom of the image, low contrast in the dust structure, and a great deal of gradient-removal work in post-processing.
There are three sensible responses.
- Shoot the overhead Milky Way instead. The stretch from Aquila through Cygnus to Cassiopeia passes near the zenith in summer and autumn, is genuinely rich, and is being viewed through the minimum possible air. The Cygnus rift, the North America Nebula region and the Great Rift are all excellent subjects and none of them is compromised by the southern glow.
- Gain elevation. Getting a few hundred metres up the valley side puts you above the low-level haze that collects on the floor on calm nights, which disproportionately helps the low southern view.
- Compose deliberately with the foreground. A frame that uses the southern glow as a warm horizon band under a dark star field is an honest photograph of this place. It is a better picture than a heavily manipulated attempt to pretend the glow is not there.
Moisture, dew and the coastal climate
This is the practical problem that ruins more valley sessions than light pollution does. Clear nights here are radiative nights: with no cloud blanket, surfaces cool by radiating heat to space, they drop below the dew point of very humid coastal air, and everything gets wet. Lenses fog from the front element inward, and the failure is gradual enough that you may not notice until you review the frames.
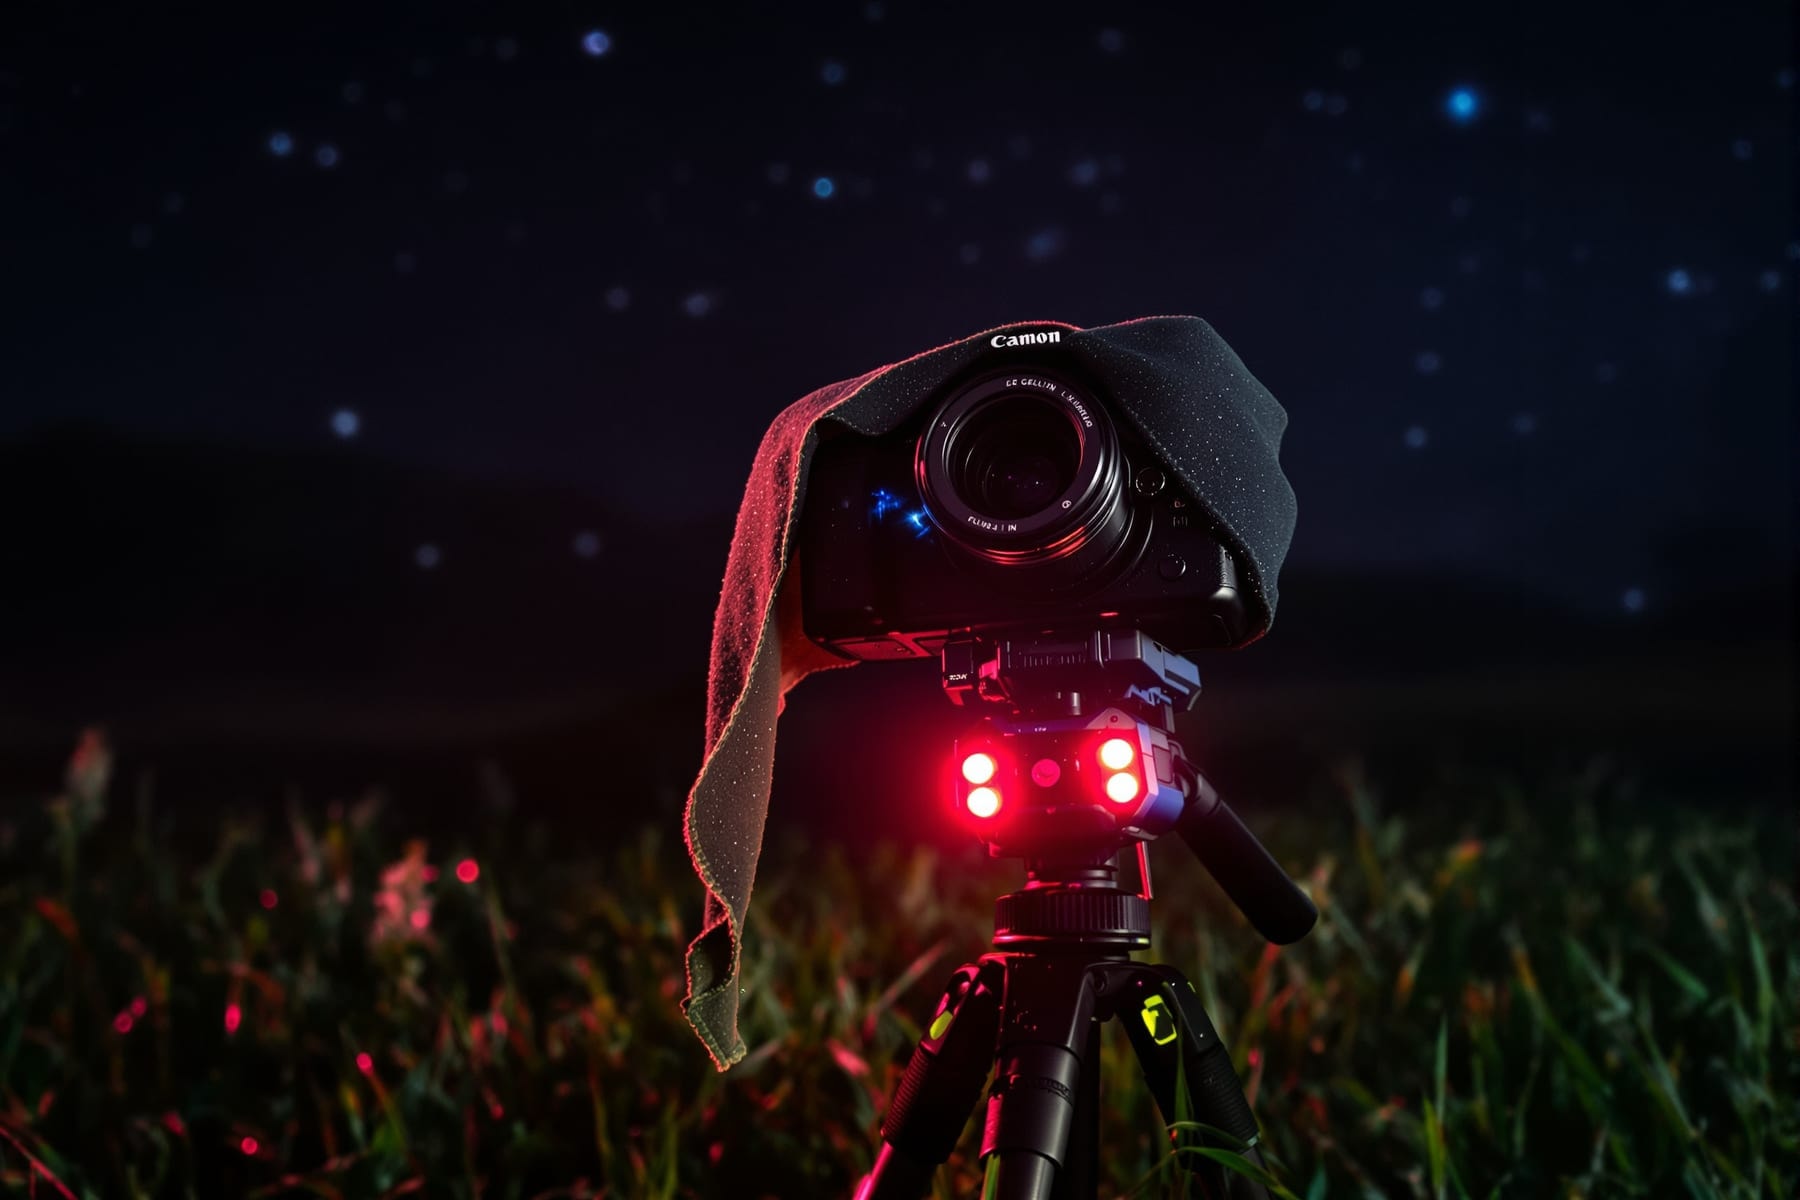
The countermeasures are cheap and effective. A lens hood or dew shield extending well beyond the front element reduces the sky the glass can radiate to and will delay fogging substantially on its own. A low-power heater strip wrapped around the lens barrel and run from a USB battery pack, set just warm enough to hold the glass a degree or two above ambient, will prevent it entirely. Keep spare batteries warm in an inside pocket, because cold cells lose capacity fast. And check the front element with a red light every twenty minutes rather than trusting it.
Transparency is the other half of the moisture problem. Humid air scatters more, so on a muggy August night even a technically cloudless sky will produce washed-out frames with bloated stars. The best imaging nights in this valley are typically the cold, dry, breezy ones behind a departed front in autumn and winter — nights that are unpleasant to stand around in and produce the best data of the year. The forecast page explains how to identify them in advance.
The short summer
At 49 degrees north the Sun does not drop more than about seventeen and a half degrees below the horizon at midnight around the June solstice, which is short of the eighteen degrees conventionally taken as the start of true astronomical darkness. For several weeks either side of the solstice there is no fully dark sky here at all. Deep-sky imaging is effectively suspended from late May into July, and the northern horizon stays visibly lit all night.
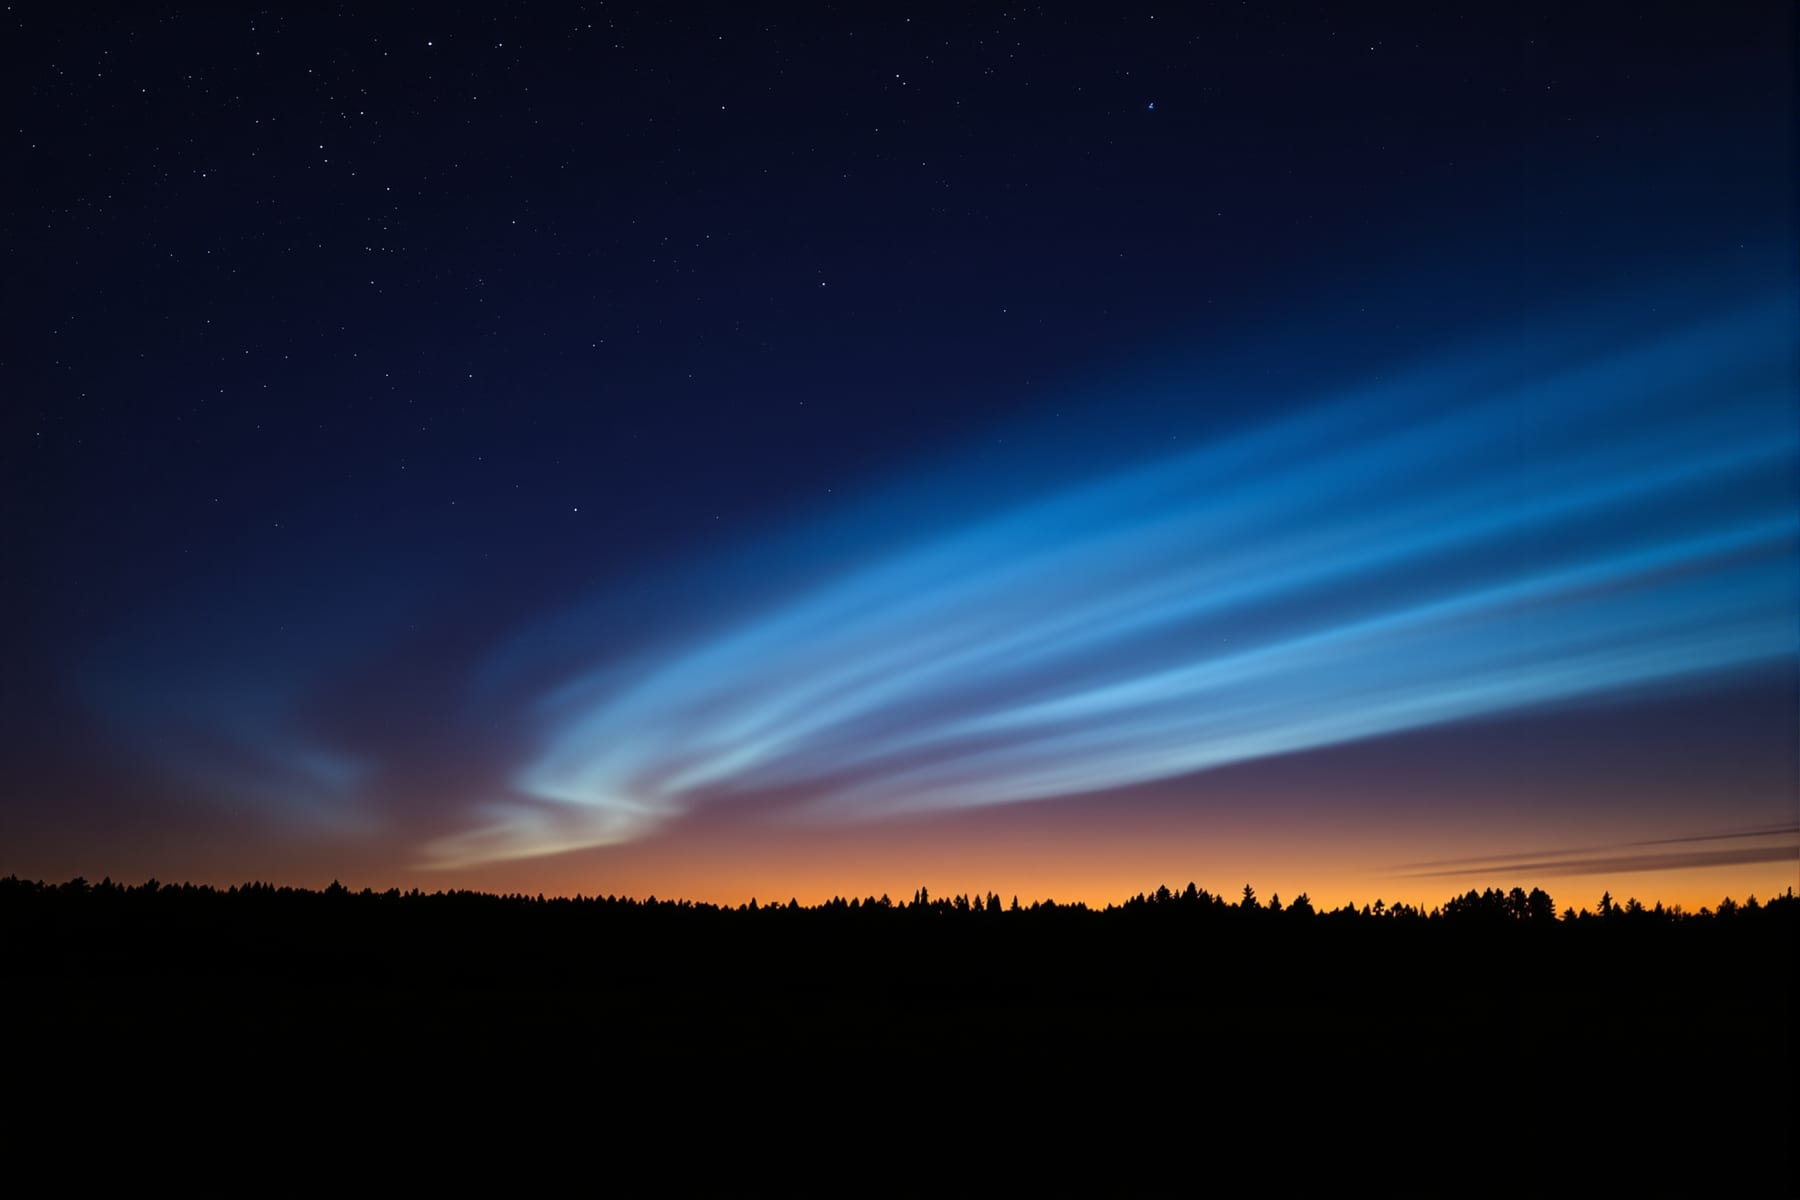
This is not purely a loss. It is the best time of year for noctilucent clouds — the highest clouds in the atmosphere, forming at around eighty kilometres, visible only when they are still catching sunlight after the lower atmosphere has gone dark. They appear in the twilight arc low in the north, typically between about an hour and two hours after sunset or before sunrise, as delicate electric-blue filaments quite unlike ordinary cloud. Mid-June to mid-July is the season, the northern horizon is the place to look, and the valley's latitude is close to ideal for them.
Moving up to tracking
The step that transforms results is a tracking mount: a driven head that rotates the camera at sidereal rate to cancel the Earth's rotation. Small portable star trackers are inexpensive relative to their impact and turn a twenty-second exposure limit into a two- or four-minute one, which is worth several stops of noise performance.
Tracking requires polar alignment — the mount's rotation axis has to point at the celestial pole. At this latitude that is comparatively pleasant work: the pole sits 49 degrees up, nearly halfway to the zenith, which is a comfortable angle to work at and clear of most trees. Polaris is about two-thirds of a degree from the true pole, so for wide-field work simply pointing the axis at Polaris is close enough; for longer focal lengths the mount's polar scope reticle or a drift-alignment routine will get you the rest of the way.
Stacking and processing
Almost all modern astrophotography is a stacking exercise. Rather than one long exposure, you take many shorter ones and average them: signal accumulates in proportion to the number of frames while random noise accumulates in proportion to its square root, so sixteen frames roughly quadruples the signal-to-noise ratio over one.
You also need calibration frames. Darks are exposures of the same length and temperature with the lens capped, which characterise sensor thermal noise and hot pixels. Flats are evenly illuminated frames that record vignetting and dust shadows so they can be divided out. Bias frames are the shortest possible exposures, characterising the sensor's read offset. Skipping flats is the most common shortcut and the one that hurts most from a light-polluted site, because vignetting and skyglow gradients interact badly.
Siril is a free, open-source and genuinely capable package for registration, stacking and gradient removal, and it is a reasonable first stop for anyone unwilling to spend money on software before they know whether they will stick with the hobby. The software page covers the wider set of tools.
A note on honesty
It is worth deciding early what your pictures are claiming. There is nothing wrong with stretching faint data — that is what the whole discipline consists of, and a linear astronomical image is a black rectangle. But there is a real line between revealing signal that was recorded and manufacturing structure or colour that was not, and between a wide-field composite assembled from frames taken the same night in the same place and a "landscape" whose sky was photographed six hundred kilometres away. Say what you did. The images are more interesting with the method attached.
For inspiration on what is achievable and how professionals describe their own processing, NASA's Astronomy Picture of the Day archive is the longest-running and best-annotated collection on the internet.