The single most reliable way to lose interest in amateur astronomy is to buy the wrong first instrument. The second most reliable way is to buy the right one and never learn the sky. This page is deliberately conservative advice, written for someone observing from the Fraser Valley, and it names no brands and recommends no shops.
Start with binoculars, and mean it
The advice to begin with binoculars is given so routinely that it has stopped being heard. It is nonetheless correct, and the reasons are specific rather than sentimental.
- Field of view. A typical binocular shows five to seven degrees of sky. A typical telescope at low power shows one. Learning the sky means recognising patterns, and patterns need context. Many of the finest objects at this latitude — the Pleiades, the Hyades, the Double Cluster, the Coathanger, the Andromeda Galaxy, the whole Milky Way from Sagittarius to Cassiopeia — are actually better in binoculars, because a telescope cannot fit them in.
- Both eyes. Binocular vision is measurably more sensitive to faint detail than monocular vision, and it is far more comfortable over a long session.
- Correct orientation. The view matches your charts. Most telescopes invert or mirror the image, which is a real obstacle when you are learning.
- Ready in five seconds. The instrument you actually use on a marginal night is the one you can pick up on the way out of the door. This matters more on this coast than almost anywhere, because a large proportion of usable nights here are short gaps between weather systems.
The numbers on a binocular are magnification and objective diameter in millimetres. 7x50, 8x42 and 10x50 are the classic astronomical sizes. The important derived figure is the exit pupil — objective diameter divided by magnification — which is the width of the beam of light leaving the eyepiece. A 7x50 has a 7.1 mm exit pupil, which slightly exceeds the dilated pupil of most adults over about thirty, so some of that light is wasted; a 10x50 gives 5 mm, which nearly everyone can use fully. From a light-polluted site a smaller exit pupil is also an advantage, because it dims the sky background more than it dims point-source stars.
Anything larger than about 10x50 needs support. Hand-held magnification above roughly 10x shows your pulse rather than the sky. A tripod with a simple L-bracket adapter transforms what a modest binocular shows, and a reclining chair transforms comfort — see the binocular box for the cheapest way to solve the zenith-neck problem entirely.
The first telescope
The governing quantity is aperture — the diameter of the main lens or mirror. Aperture determines both how much light is collected, which sets how faint you can go, and the theoretical resolution, which sets how fine a detail you can separate. Magnification is not a specification; it is a choice you make by swapping eyepieces, and any telescope can be made to produce any magnification, almost all of which will be useless. A telescope advertised by its magnification is being sold to someone who does not know this.
The Dobsonian
For most people making a first serious purchase, a Dobsonian — a Newtonian reflector on a simple wooden alt-azimuth rocker box — delivers more aperture per unit cost than anything else by a wide margin, and is genuinely simple to use. Point it, look, nudge it to follow. A 150 mm or 200 mm Dobsonian will show every Messier object from a dark valley site and a great deal more.
Its limitations are honest ones. It does not track, so at high magnification objects drift out of the field in under a minute. It is bulky. Its open tube is exposed to dew and to stray light, both of which matter here. And a Newtonian needs collimation — the alignment of primary and secondary mirrors — checked regularly, which is a five-minute skill that beginners find intimidating for about a fortnight and then never think about again.
The refractor
A lens-based telescope, sealed against dew and dust, needing no collimation, and giving unusually crisp high-contrast images for its aperture. A small apochromatic refractor is a wonderful instrument for the Moon, planets, double stars and wide-field photography. The catch is cost: aperture in a refractor is expensive, and cheap large refractors suffer badly from chromatic aberration — a violet halo around bright objects.
Catadioptrics
Compound designs folding a long focal length into a short tube, typically on a driven mount. Compact, portable and long-focus, which suits planetary work and imaging. More expensive, and the corrector plate at the front is a dew magnet, which in this climate means a heater is not optional.
What to avoid
Small telescopes on flimsy photographic-style tripods, sold on magnification claims, are the classic route to abandonment. The optics are usually adequate; the mount is not, and an image that vibrates for four seconds after every touch is unusable regardless of what the optics could theoretically do. Spend the money on the mount. An underspecified mount ruins good optics; a solid mount makes modest optics enjoyable.
Eyepieces and magnification
Magnification equals the telescope's focal length divided by the eyepiece's focal length. A 1200 mm telescope with a 25 mm eyepiece gives 48x; with a 10 mm eyepiece, 120x.
Two limits bound the useful range. At the low end, magnification below roughly aperture-in-millimetres divided by seven produces an exit pupil larger than your own pupil, so light is thrown away and the sky background looks brighter than it need. At the high end, maximum useful magnification is about twice the aperture in millimetres — 400x on a 200 mm instrument — and in practice atmospheric seeing caps you well below that on most nights in this valley. Anything beyond about 200x here is a gift from an unusually steady night, not a routine option.
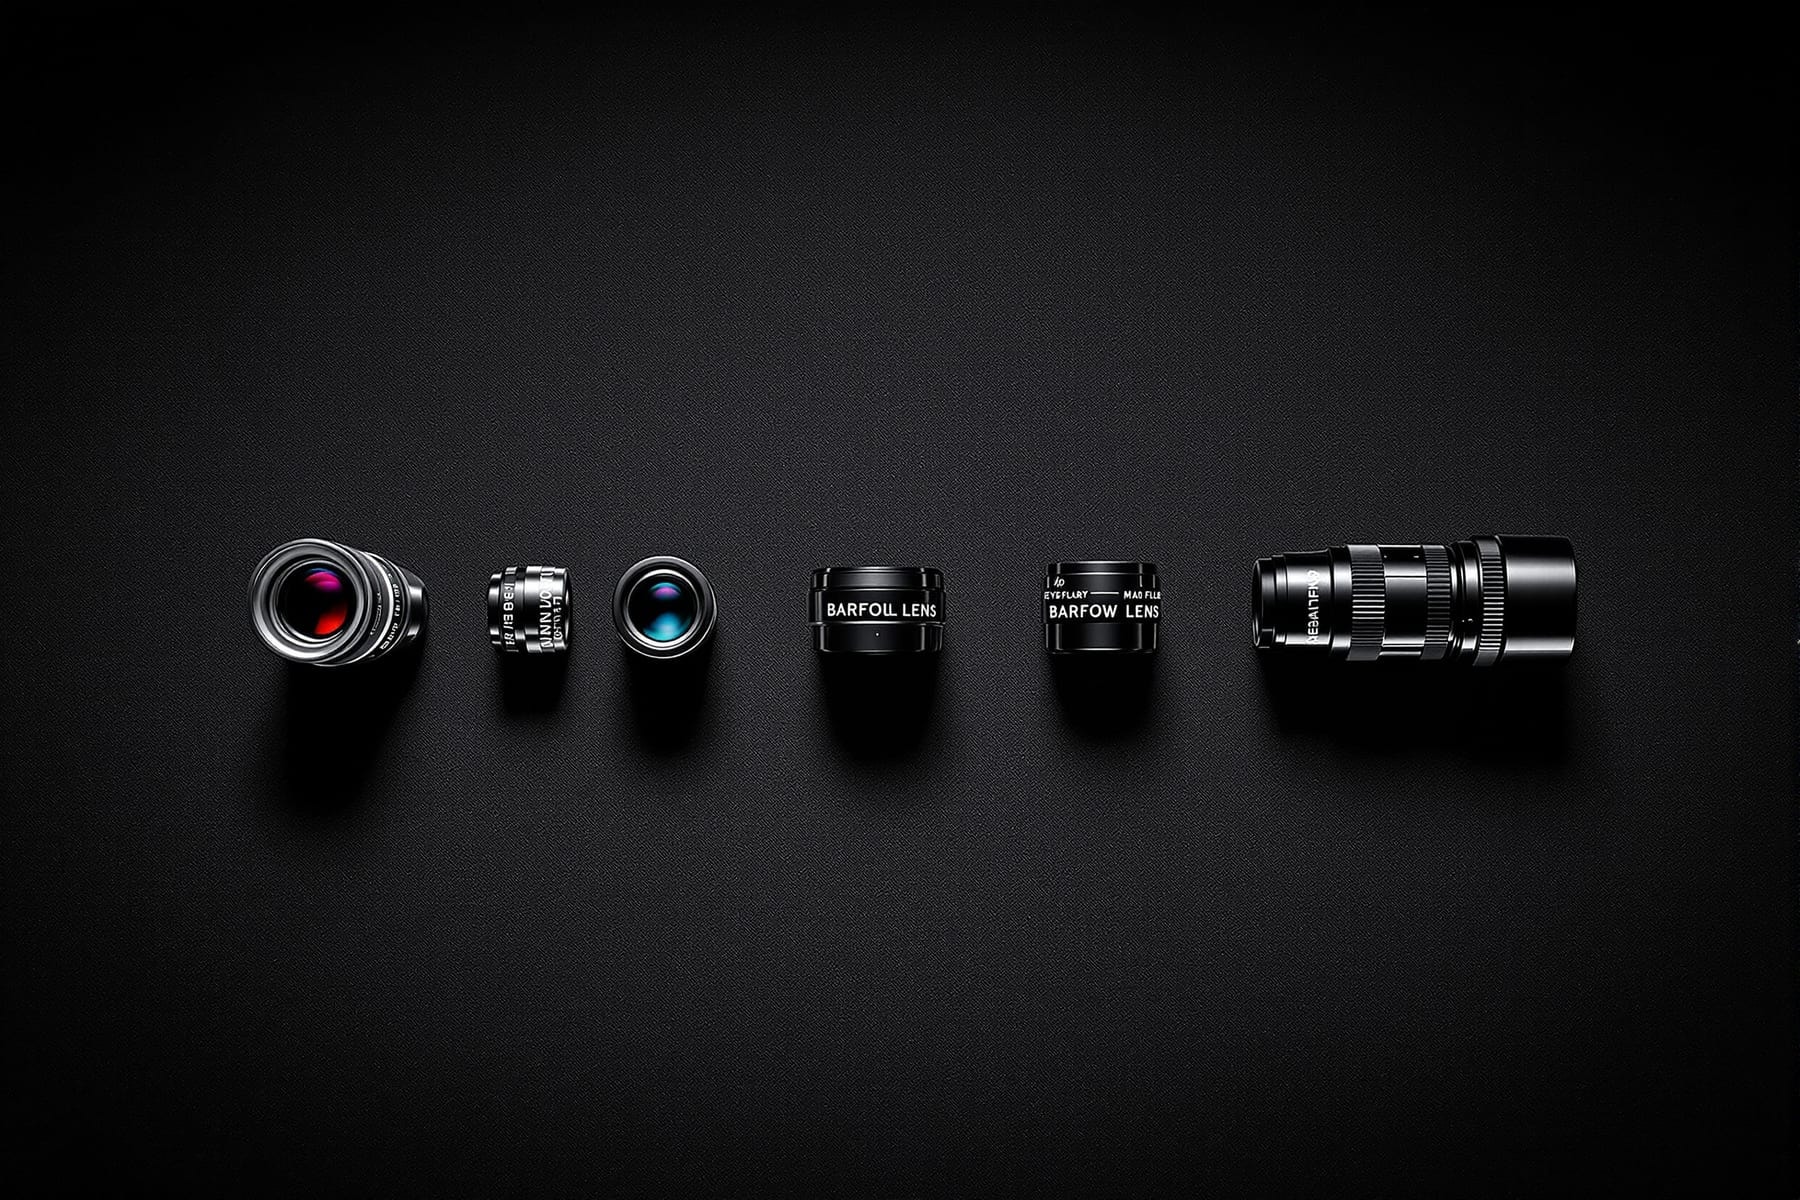
A sensible starting set is three eyepieces: a low power for finding and for wide fields, a medium power for general deep-sky work, and a high power for the Moon, planets and doubles. A good two-times Barlow lens effectively doubles that set for the price of one eyepiece. Beyond that, buy eyepieces slowly and only when you can articulate what the current set fails to do.
Everything else, in order of usefulness
- A red torch. The cheapest item and the one that most improves what you see, because it protects the twenty to thirty minutes of dark adaptation that everything faint depends on.
- A chair. Seated observing genuinely resolves more detail than standing, because you are steadier and more relaxed. This is not a comfort item.
- Dew control. On this coast, a dew shield and a heater strip are among the highest-value purchases you will make.
- A star atlas on paper. Phones die in the cold and their screens destroy night vision even on red mode. A printed atlas does neither.
- A planetarium program for planning indoors before you go out — see the software page.
Or build one
Amateur telescope making is older than the commercial amateur telescope market, and grinding your own mirror remains one of the few ways to get large aperture at low cost. It also teaches you more about optics in a month than reading does in a year. The telescope-making section starts with grinding and polishing a mirror and continues through testing it and building a telescope around it. If you want to understand what any of the specifications above actually mean optically, Amateur Telescope Optics is the most thorough free reference available.